
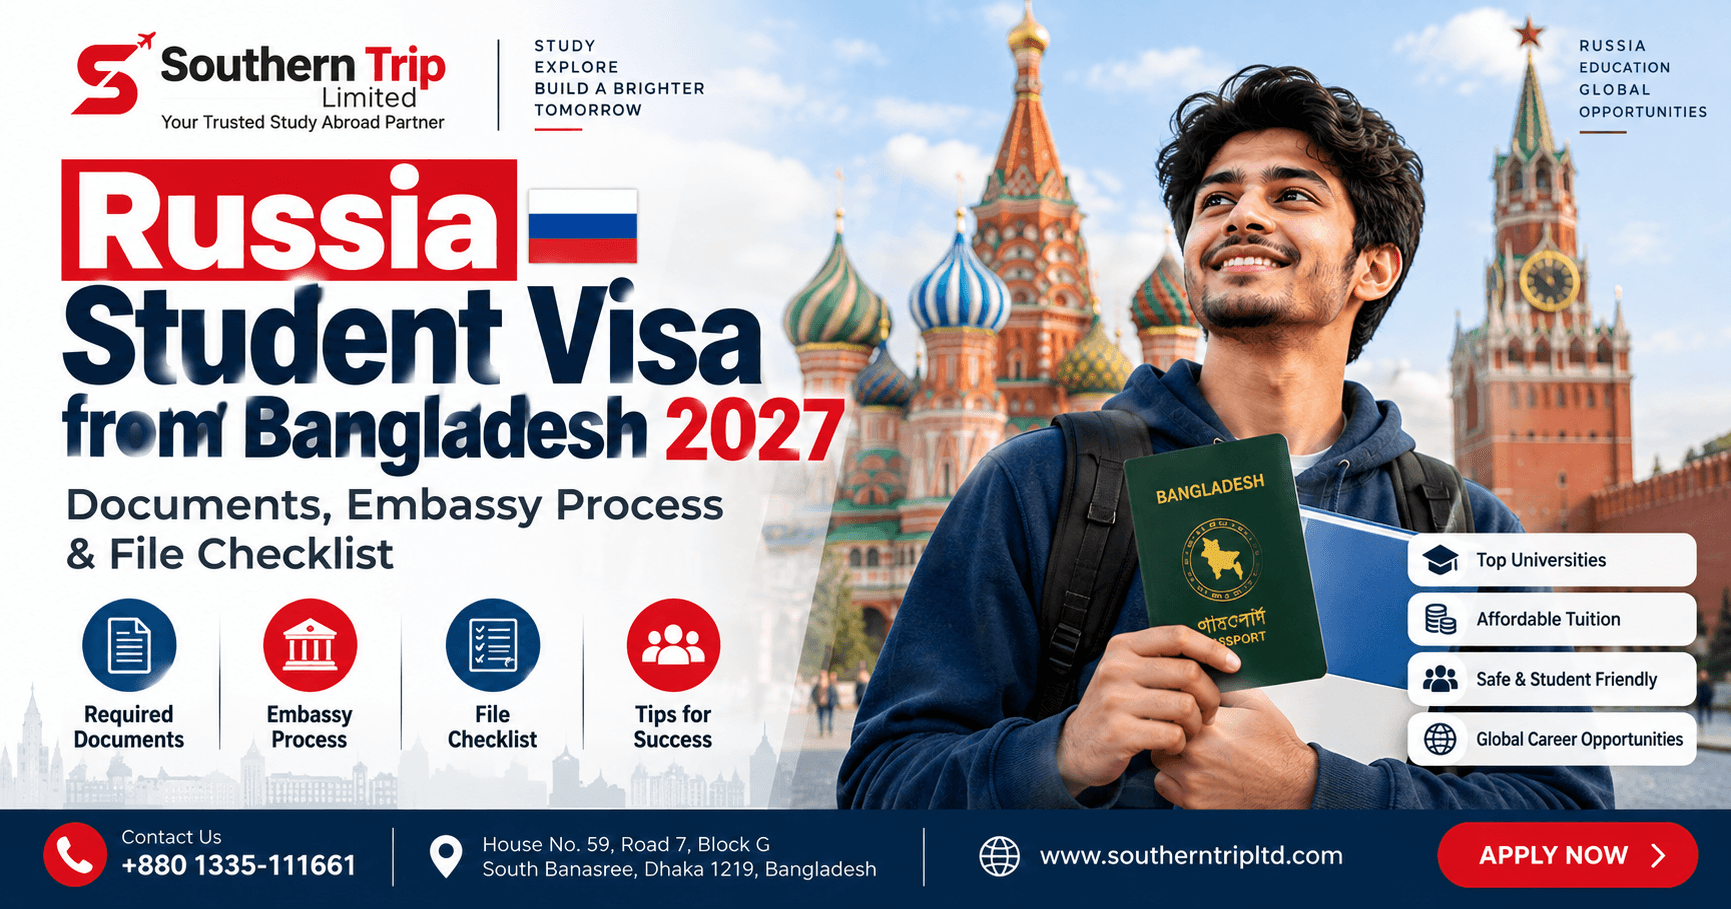
A document-by-document Russia student visa file checklist for Bangladeshi students: required documents, embassy process, medical/insurance and translation requirements, common mistakes, and a pre-submission checklist.
Once you have a university admission decision for Russia, the visa stage becomes the next real hurdle — and it's the stage where a single inconsistent document or a missed requirement can cost you weeks. This guide is a dedicated, document-by-document walkthrough of the Russia student visa file: what's typically required, how the embassy process works, and the mistakes that most often cause delays.
For the broader application journey — choosing a university, the overall timeline, and what happens before and after the visa stage — see our step-by-step Russia application guide. This article focuses specifically on the visa file itself. For universities, cities and programme levels, start with our Study in Russia destination page.
Nothing here should be read as a guarantee — visa requirements are set and can be changed by the Russian embassy and immigration authority at any time, and decisions on individual applications are theirs alone to make. What this guide can do is help you understand the shape of the file you're building, so you can prepare it properly and reduce the chance of an avoidable delay.
What Triggers the Visa Stage
The Russian student visa process begins only after you have a confirmed university admission and an official invitation letter — usually issued through the university on your behalf via the relevant Russian migration authority. You cannot apply for the student visa before this invitation exists, so admission and invitation are the real starting line, not the visa application itself.
This also means the single biggest lever you have over your own visa timeline is how quickly and cleanly you get through admission — a well-prepared admission application, submitted early, gives the invitation-letter process more room to run its course before your intended intake.
Do Requirements Differ by Programme Level?
The core visa file — passport, application form, invitation letter, photos, medical and financial documents — is broadly similar across Bachelor's, Master's and PhD applicants. Where things can differ is in the supporting academic documents: Bachelor's applicants typically submit HSC/equivalent certificates, Master's applicants their Bachelor's degree and transcripts, and PhD applicants their Master's degree alongside any research-related documentation their programme requests. Confirm the exact academic document list for your specific degree level and university, since this is one area that genuinely varies by case.
Core Document Checklist
While the exact list can vary by embassy guidance and by your specific case, a Russia student visa file commonly includes:
A valid passport — many advisories recommend it remain valid well beyond your planned stay; confirm the current minimum validity requirement directly with the embassy or visa centre before applying.
A completed visa application form, typically submitted through Russia's official online visa portal and then printed and signed for submission.
Your original invitation letter from the university/migration authority.
Passport-size photographs meeting the current specification.
Academic certificates and transcripts supporting your admission.
A parental consent letter, notarised, if you are under 18 at the time of application.
Treat this as a starting checklist to confirm against the embassy's current published requirements — not a final list to submit without checking. Keep both originals and photocopies of everything, since some stages of the process may ask for one or the other, and having both ready avoids a last-minute scramble.
Financial and Supporting Documents
Depending on your specific case, you may also be asked to show evidence of financial support for your stay — this could be your own funding, a sponsor's documentation, or proof tied to a scholarship where one applies.
In practice, this commonly takes the form of a bank statement or sponsor letter showing funds are available, sometimes alongside a declaration from the sponsor confirming their relationship to you and their commitment to support your studies. If a scholarship covers some or all of your costs, documentation of that award may substitute for part of this requirement. Requirements here are set by the embassy and can vary by visa category, so confirm exactly what's expected for your specific case rather than assuming a fixed format based on someone else's experience.
Medical and Insurance Requirements
Russian student visa applications commonly require medical documentation, including a certificate showing a negative HIV test result obtained within a recent window before applying — confirm the current validity window directly with the embassy, as these timeframes can change.
You'll also typically need medical/health insurance valid in Russia for the length of your stay. Minimum coverage requirements are set by current Russian visa rules and have been described differently across sources we reviewed, so rather than quoting a specific figure that may be outdated by the time you apply, confirm the exact minimum coverage amount with the embassy, your insurer, or your university's international office before purchasing a policy.
It's worth being clear that this pre-visa medical certificate is a separate requirement from the post-arrival medical examination Russian immigration law requires once you're already in the country (covered later in this guide) — completing one doesn't substitute for the other, and mixing the two up is a genuine source of confusion for first-time applicants.
Translation and Notarisation Requirements
Documents not already in Russian are commonly required to be translated, with the translation notarised. This typically applies to academic certificates, transcripts and other official documents submitted as part of your file — your passport itself is generally not translated, but always confirm which specific documents need translation for your case rather than assuming.
Start this process early — notarised translation can take longer than expected, especially close to a deadline, and it's one of the easiest steps to underestimate. Use a translator or agency your university or the embassy recognises where possible, since not every notarised translation is automatically accepted.
The Embassy / Visa Centre Submission Process
Once your documents are ready, the general process is: complete the official online visa application, print and sign it, then submit it in person along with your passport, invitation letter, photo and supporting documents at the Russian embassy or an authorised visa application centre in Bangladesh. Some stages may require an appointment, so check current booking requirements before planning your submission date.
Processing times are set by the embassy and can vary, so avoid booking non-refundable travel until your visa is actually issued.
While your application is being processed, avoid making other irreversible commitments too — this includes non-refundable accommodation deposits and, where possible, resigning from a job or finalising other major life decisions before your visa is confirmed. It's an uncomfortable waiting period, but treating the outcome as settled before it actually is causes real problems for some students.
Visa decisions are made solely by the Russian embassy or immigration authority. No consultancy, including Southern Trip, can guarantee approval or a specific processing time — we help you prepare a complete, accurate and well-organised file.
Watch: Common Visa File Mistakes to Avoid
This walkthrough from the Southern Trip Ltd team covers the file-preparation mistakes we see most often across student visa applications — the same principles apply directly to preparing your Russia visa file.
Common File Preparation Mistakes
Names, dates or spellings that don't match exactly across your passport, certificates, application form and invitation letter.
Leaving notarised translation until the last minute, when it often takes longer than students expect.
Submitting an expired or soon-to-expire passport without checking the current validity requirement first.
Assuming last year's document list still applies, when embassy requirements can change between intakes.
Buying medical insurance before confirming the required coverage level, then discovering it doesn't meet the current minimum.
Booking flights or accommodation before the visa is actually issued.
Confusing the pre-visa medical certificate with the post-arrival medical examination. These are two separate requirements at two different stages.
Using an unrecognised translator for notarised documents. Not every notarised translation is automatically accepted — check what your university or the embassy recognises.
Pre-Submission Checklist
Before you submit anything to the embassy or visa centre, run through this list once, start to finish — it's the same sequence we walk students through before they submit their own files.
Confirm you have a valid admission decision and official invitation letter.
Gather your passport and confirm its current validity meets the requirement.
Collect academic certificates and transcripts, and start notarised translation early.
Prepare financial/supporting documents relevant to your specific case.
Complete required medical tests and purchase insurance meeting the current minimum coverage.
Complete the official online visa application form and print/sign it.
Double-check every document for consistent names, dates and details.
Confirm the current appointment/submission process at the embassy or visa centre.
Submit your complete file, then wait for a decision before making non-refundable travel plans.
After Your Visa Is Issued: A Post-Arrival Note
Getting the visa isn't the final step — Russian immigration rules also require certain post-arrival steps. As of 1 September 2026, updated rules reduced the window for completing a required medical examination for foreign nationals from 90 to 30 calendar days after entering Russia, with annual re-examination required for longer stays (a change confirmed on the Russian President's official website, kremlin.ru). This is separate from the pre-visa HIV certificate covered earlier — it's a post-arrival requirement administered through authorised clinics inside Russia, and missing the deadline carries real consequences under current rules, including fines and, in serious cases, expulsion.
Confirm the current requirement and timeline with your university's international office as soon as you arrive, since immigration compliance rules like this can change and are ultimately your own responsibility to meet, not something a consultancy can complete on your behalf.
How Southern Trip Helps With Your Visa File
Alongside the wider application support covered in our main Russia guide, our student counselling and application documentation support specifically help with:
Reviewing your document set for consistency before you submit it
Explaining which documents commonly need notarised translation for your case
Helping you understand the current financial and medical requirements as they apply to you
Preparing you for what to expect at the embassy or visa centre stage
As throughout this guide, we help you prepare a complete and accurate file — we do not control or guarantee the embassy's decision.
When you're ready to prepare your Russia visa file, talk to our student counselling team or get your profile assessed with Southern Trip Ltd.
Frequently Asked Questions
A typical file includes your passport, visa application form, invitation letter, photographs, academic certificates, and — depending on your case — financial and medical documents. Always confirm the current full list with the embassy.
Yes — the invitation letter, issued after your university admission, is what allows you to begin the visa application; it isn't optional.
Start early, use the checklist in this guide as a starting point, keep every document consistent, and confirm current requirements with the embassy rather than relying on a previous year's list.
Inconsistent documents, late-started translations, expired passports, and outdated assumptions about requirements are the most common causes we see.